Store Nintendo Switch Screenshots in the Cloud using Pipedream
I've been a gamer for my entire life, starting with the venerable Atari 2600 back when I was almost late for grade school because I was having a really good game of Space Invaders.

For a long time, my go-to gaming system came from Nintendo. First the NES, then SNES, and Nintendo 64. But around when the GameCube came out, I wasn't quite as infatuated with them anymore. I started playing the Xbox and Playstation, and generally just felt like Nintendo wasn't making "serious" video game consoles anymore. (Now I realize how silly that sounds. Trust me.)
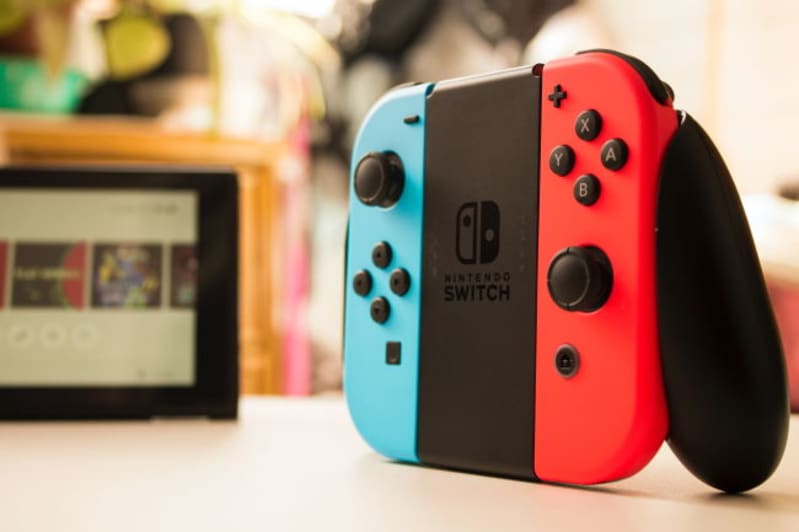
Most recently though I picked up the Nintendo Switch and was blown away by how good of a device it was. While it's still my least used game console, it's an incredible machine and I've had a lot of fun with it. A few days ago I picked up a classic, the original "Dragon Quest" (Why? See this tweet.)
While playing the game, I took a screenshot and wanted to share it with my wife. I remember that this was a bit of a weird process, so I did a quick Google and found this: How to Send Nintendo Switch Screenshots to Your PC or Phone
This is the "new and improved" process and frankly, it's still somewhat stupid. You scan a QR code on your mobile device, this changes your Wifi to match with the Switch, you scan a second QR code to open a web page, and then you download it. It works, don't get me wrong, but feels like something out of 1995. It's like the process you use to print photos at CVS. This isn't the only way though, you can connect your Switch physically to a machine and copy over USB or you can tweet your photo and grab it there.
When I complained about how silly and obtuse this process seemed, Cory Birdsong responded that he created a second Twitter account just to handle posting his Switch screenshots. And this got me thinking.
I knew Pipedream had super-simple support for executing workflows when a Twitter account posted a new tweet. Could I automate the process of taking my screenshots and making them available in the cloud?

Step Zero - Setup a Twitter Account
So the first thing I needed was a Twitter account. I've made a bunch of these for my various bots so what's one more? Say Hello to @raysswitch.
Step One - Trigger on Tweet
The first (real) step in building my workflow was a Pipedream trigger that fires on new tweets. When setting this up, you've got multiple options:
- What account to check (raysswitch)
- Include or Exclude retweets and replies (I never plan on really tweeting from that account, but I set it to exclude just to be sure)
- Polling interval - this defaults to 15 minutes and I left it at that

Remember that while testing, you can trigger this automatically so you don't have to wait.
Step Two - Filter and Return Media
The next step involved code, and believe it or not, this is the only code I needed to write in the entire process. While my trigger is ignoring replies and retweets, it's possible I may tweet from the account by accident, so I wanted a bit of code to filter out tweets that didn't include a screenshot. I added a Node.js step with this code.
export default defineComponent({
  async run({ steps, $ }) {
    if(steps.trigger.event.entities && steps.trigger.event.entities.media && steps.trigger.event.entities.media.length === 1) {
      // the upload step can use the url, but need a file name too:
      let url = steps.trigger.event.entities.media[0].media_url;
      let file = url.split('/').pop();
      return { url, file }
    } else return $.flow.exit('No media');
  },
})
There's a bit of foreshadowing here as I know I'm going to need the URL to the media as well as the filename. I return both from the step. If no media was attached, I end the workflow.
Step Three - Post to Dropbox
So, originally when working on this I had planned to post to a Google Photos album. I ran into some issues there and I plan on (hopefully) blogging about that later. For now, though I went with copying to a Dropbox folder. Again, Pipedream has this baked in. So I selected the action, configured the folder, and told it where to find the source (the URL from the previous step) and the file name to use (the file value from the previous step):

And... that's it. Pipedream handled all of the hard stuff and I literally had to write about 5 lines of code. Here's an example with a shot I just took a few minutes ago:

Note this is a screenshot from the Dropbox UI, if I had file system integration on this laptop it would have just shown up. If you want to see the original, here's a link to it. Feel free to make fun of my Diablo character names. As I've said a few times recently, Pipedream currently doesn't allow public sharing of workflows using their new UI, but it's coming soon, so if you want that link and it's in the future (i.e., not today ;), drop me a line.
Photo by Enrique Vidal Flores on Unsplash