Localization is an important topic for mobile developers and one that is - in my opinion - not discussed enough. It is a difficult and complex topic, but like testing, it isn't something that should be ignored just because it isn't easy. Today I'm going to discuss one aspect of creating an internationalized hybrid application with Ionic - the localization of your UI. In my next post, I'll talk about formatting data values. To create the localized version of a sample application, I'm going to use two services. First, I'll use a beta Bluemix service for machine-based translation. Then I'll use an Angular library to employ the results of that service. Ready?
Part One - Doing the Translation
Let's begin by talking about the translation service. The service we'll use is a beta one which means you can only find it in the Bluemix Labs Catalog of services. We'll use the IBM Globalization service.
To be clear, we're talking about machine translation. This will not be perfect. However, this service is more than appropriate for development and testing. You can hire professional translators at a later time to come in and proof-read what SkynetBluemix provided for you.
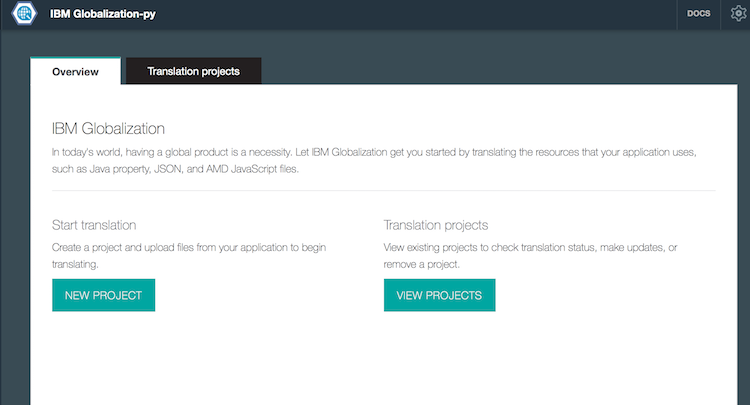
Once you sign up for Bluemix (and hey, you know you can do that for free, right?), you can then add this service. You do not need to bind it to any application as it runs "on it's own" just fine. After you've added it, you can then begin working with it. You'll start off by adding a new project.
In the next page, simply enter a name for your project, and a source language. For now, this must be English.
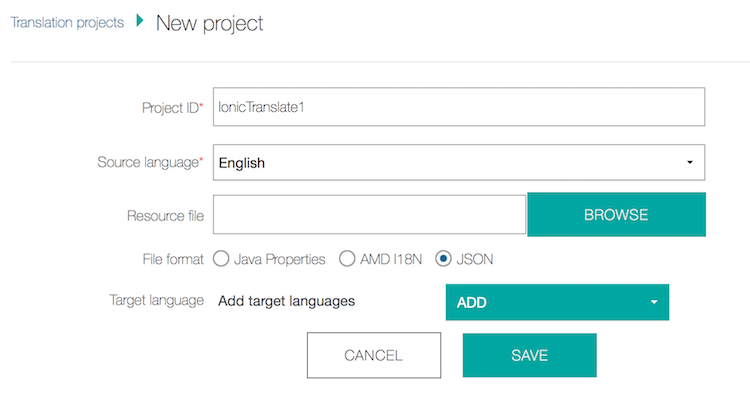
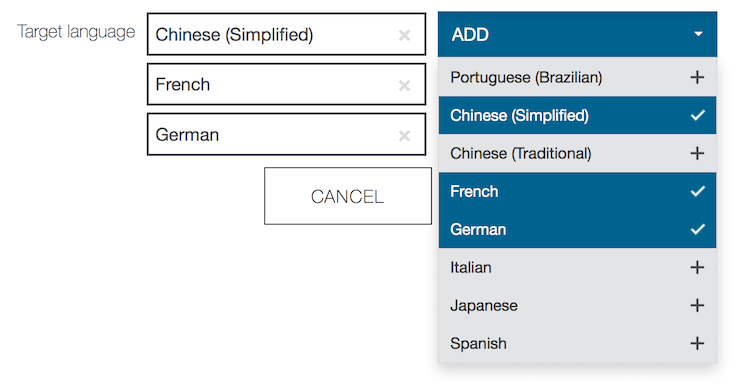
You can also select the language you wish to support. You can add more languages later.
Ok, now that the project is created, you get a 'dashboard' view of your languages.
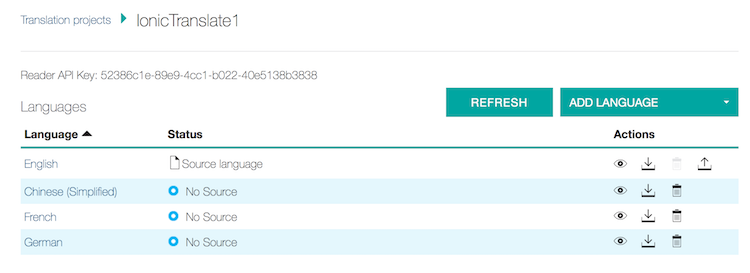
As you can see, my other languages have no data yet, so let's fix that. Clicking the little Upload icon by English prompts you to select a file. Note that they ask you for a format. What's cool is that you can upload as any format and then download as any format.
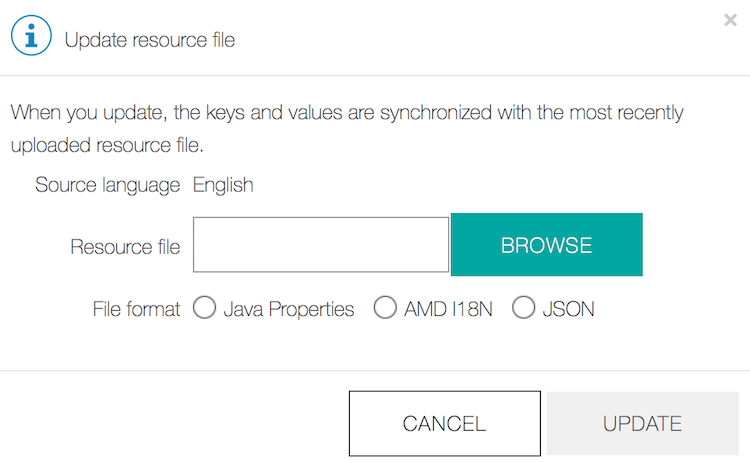
While my first guess at what the JSON format required was correct, you can see all the formats documented in the Globalization docs. Here is the one I built for my initial test.
{
"age": "Age",
"email": "Email",
"firstname": "First Name",
"lastname": "Last Name",
"register": "Register",
"username": "Username"
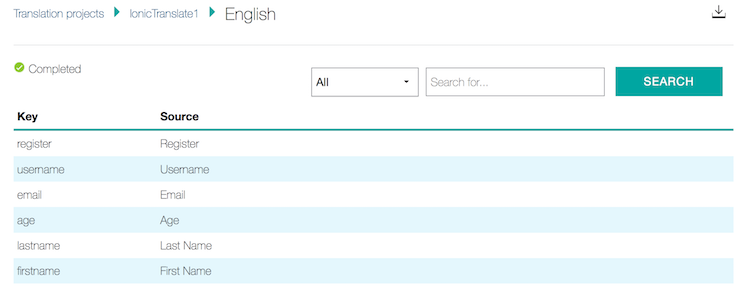
}After uploading it, the service parses it and shows you a set of keys and values:
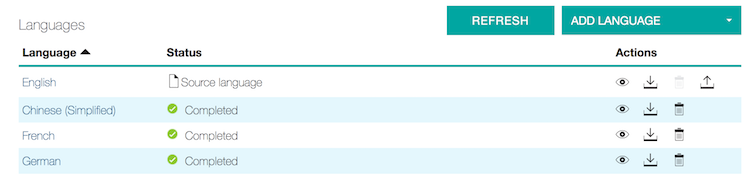
Once back on the project dashboard, you'll get a status message about each language. In my testing this was instantaneous, but I'd assume it won't always be that fast.
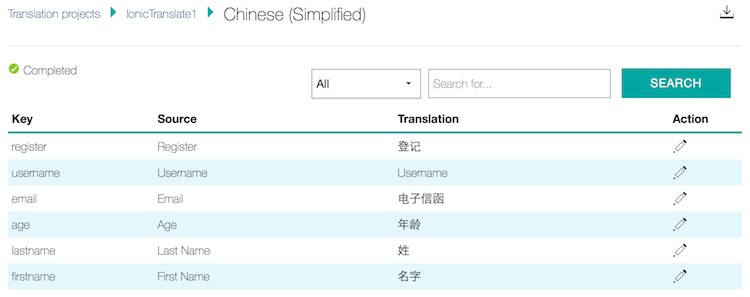
You can click on a language and see how it translated, as well as provide your own edits if you know better. My "expert" on Chinese is my 12 year old daughter as I'm not home right now, I'll trust Bluemix.
The next step is to simply download the translation:

And that's it! As I said, you should not expect perfect translations, but I was amazed at how easy this was and how quickly it worked.
Part Two - Using the Translation
In my "research" in how to use translation files with Angular (and by research I mean some Googling and Slack conversations), I was pointed to two different libraries: angular-translate and angular-localization. (Hat tip to @northmccormick on Slack for the later.) angular-translate seemed powerful, but almost too powerful. All I really wanted (at least for this demo) was the ability to translate UI strings into a language-appropriate format. angular-localization did just that and worked well, however the documentation was pretty poor. I'll detail what I did to use it and point out what wasn't clear in the docs.
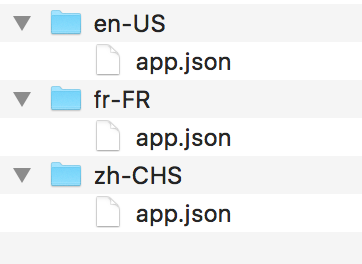
To begin with, you need to ensure you both name and store your localization files correctly. angular-translate expects a root folder for the files and beneath that a folder for each locale you support. Finally, and this was the weird part, what you name your file will drive how it is addressed in code. So for example, if you name your file cat.json, then "cat" acts like a grouping of translations. The idea is that you can have multiple different groups of key/value pairs for your translations. That's nice, but it wasn't clearly spelled out. To make it easier for me, I just used app.json. Here's my folder structure. (I didn't bother downloading the German translation. Sorry Germany.)
Now let's look at the code. After installing the core library, I began by configuring the service. This is done via value objects.
.value('localeConf', {
    basePath: 'lang',
    defaultLocale: 'en-US',
    sharedDictionary: 'common',
    fileExtension: '.json',
    persistSelection: false,
    cookieName: 'COOKIE_LOCALE_LANG',
    observableAttrs: new RegExp('^data-(?!ng-|i18n)'),
    delimiter: '::'
}).value('localeSupported', [
    'en-US',
    'zh-CHS',
    'fr-FR'
]);
The first portion is just high level configuration stuff. The library requires you to pass everything even if you are only tweaking one value. In my case, it was basePath being set to "lang". The next value, localeSupported, is required, even though it isn't (from what I saw) documented that it is. If you don't tell the service what languages you support, then you can't change languages. (Which, by the way, also isn't documented.)
Ok, so next I set up some simple HTML using the format the service requires:
<p data-i18n="app.username"></p>
<p data-i18n="app.register"></p>
<p data-i18n="app.firstname"></p>
<p data-i18n="app.lastname"></p>

<button class="button" ng-click="setChinese()">Test Chinese</button>
<button class="button" ng-click="setFrench()">Test French</button>
<button class="button" ng-click="setEnglish()">Test English</button>
Note how localiztion is done. You specify the key (and remember, 'app' is the file name of the translation JSON) and the service will automatically provide the right translation. In case your curious, if you provide a key that doesn't exist, you'll get %%KEY_NOT_FOUND%% as the result. That makes it nice and obvious. Note I've added three buttons to help me test. As I complained about above, angular-translate doesn't actually tell you how to set a language. I had to dig around a while to figure it out (and again, @northmccormick helped me out). Here is the code for my controller:
.controller('Main', function($scope, locale) {
$scope.setChinese = function() {
console.log('set chinese');
locale.setLocale('zh-CHS');
};
$scope.setFrench = function() {
console.log('set french');
locale.setLocale('fr-FR');
};
$scope.setEnglish = function() {
console.log('set english');
locale.setLocale('en-US');
};
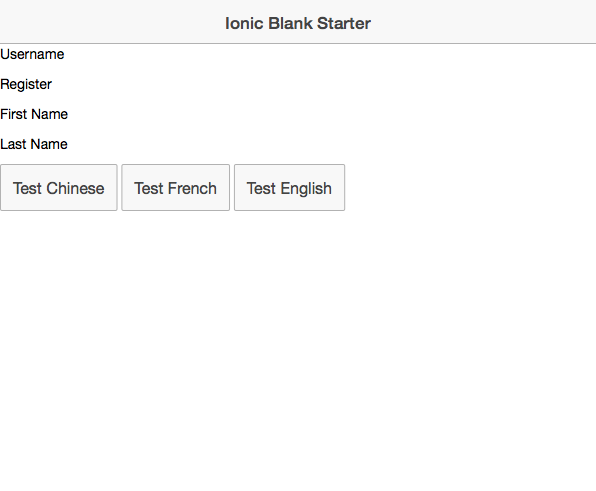
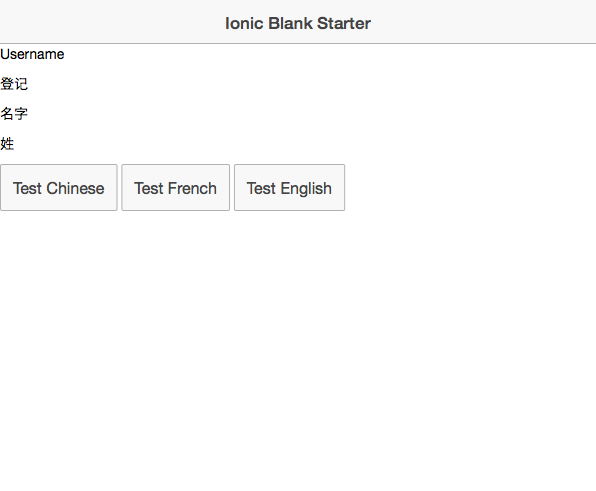
})Not too complex, and yes, I could have used one function, but this was just my first test. The result is pretty much what you expect. Here are are two examples:
Woot! So the next question is - how do we automate the locale? angular-translate does not do this for you. They do document this, but I wish they had bolded and underlined this point. In order to handle this, I added the Cordova Globalization plugin. As it stands, I'm going to use that for the second part anyway so that works out just fine. The modification was pretty simple:
.run(function($ionicPlatform, locale) {
$ionicPlatform.ready(function() {
// Hide the accessory bar by default (remove this to show the accessory bar above the keyboard
// for form inputs)
if(window.cordova && window.cordova.plugins.Keyboard) {
cordova.plugins.Keyboard.hideKeyboardAccessoryBar(true);
}
if(window.StatusBar) {
StatusBar.styleDefault();
}
navigator.globalization.getLocaleName(function(l) {
console.log(l);
locale.setLocale(l.value);
}, function(err) {
console.log('get local err', err);
});
});
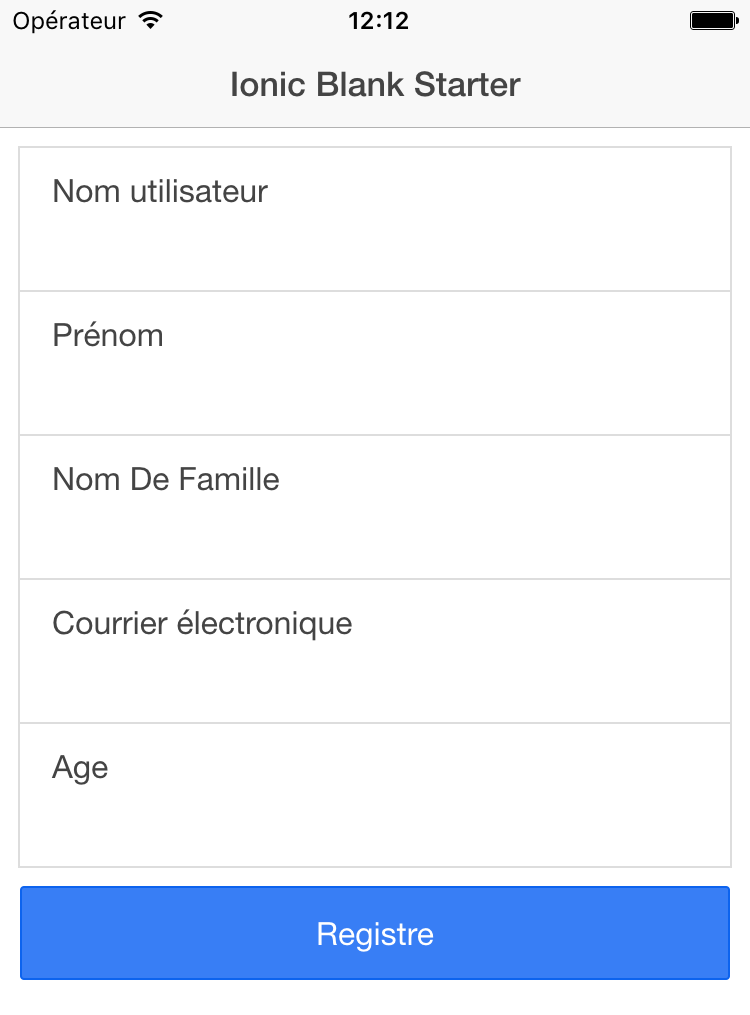
})On the front end, I changed my demo code to a simple form:
<div class="list">
	<label class="item item-input item-stacked-label">
		<span class="input-label" data-i18n="app.username"></span>
		<input type="text">
	</label>
	<label class="item item-input item-stacked-label">
		<span class="input-label" data-i18n="app.firstname"></span>
		<input type="text">
	</label>
	<label class="item item-input item-stacked-label">
		<span class="input-label" data-i18n="app.lastname"></span>
		<input type="text">
	</label>
	<label class="item item-input item-stacked-label">
		<span class="input-label" data-i18n="app.email"></span>
		<input type="text">
	</label>
	<label class="item item-input item-stacked-label">
		<span class="input-label" data-i18n="app.age"></span>
		<input type="text">
	</label>
	<button class="button button-block button-positive" data-i18n="app.register"></button>
</div>
Here it is in action in the iOS Simulator - after I set my locale to French.
As a completely random aside, if you change the locale of your iOS Simulator and all of a sudden remember that your high school French has been blown away by Star Wars trivia and raising six kids, you can reset your simulator by doing: Simulator/Reset Content and Settings. Not that that happened to me. Honest.
So that's it. I've put up the source code here: https://github.com/cfjedimaster/Cordova-Examples/tree/master/globalex. The simpler first version is under www v1. Let me know what you think below. As I said, tomorrow we'll look at globalizing numeric/date values.
Archived Comments
Nickel !
Um, dime?
Nickel is an expression in french that means amazing/very nice ..
Sweet! C'est bon!
The link to https://ibm.biz/bmglobalize seems to be not working correctly anymore. Should be https://console.ng.bluemix....
Additionaly it seems there is no free pricing plan as shown on the page.
Thanks - I wonder if that changed recently. Typically all Bluemix services have a free tier.