Last week I blogged about how to use MobileFirst with Ionic. Today I'm going to show another example of an adapter - the HTTP adapter.
As you can probably guess, a HTTP adapter is simply a proxy between your mobile app and some other URL. So why would you bother? There's a couple of reasons why this may be beneficial.
Tracking and Logging: By using a HTTP adapter, you get a complete look at resources your mobile application is using. Imagine, for example, that you are using a service that charges per 1000 calls. By using a HTTP adapter, you can ensure that what the provider says your apps are using is accurate.

The MobileFirst back end will report on average response time, data size, and even let you filter by environment and version. (For example, maybe your iOS users are using more network resources than Android.)
Filtering and Modifying: Your preferred back end service may return data that you don't necessarily need. By writing custom logic in your adapter, you can strip out, or modify, the data to match your app's needs. This is great for times when you are using an API you do not have control over. The default adapter code uses an example of converting an RSS feed XML result set into a smaller JSON result. This isn't even necessary as MobileFirst will convert the result to JSON anyway, but the example demonstrates returning a slimmer result set, dropping stuff not needed for the application.
Portability: By using an adapter, you can swap out services at will. For example, you can switch from one stock quote provider to another based on costs and service reliability. Best of all - you can make these changes without having to push new versions of the application out to the market. You simply modify the adapter.
For my test, I decided to build a modified version of the default HTTP adapter code. I'd use their RSS XSLT code to parse my RSS feed into something sensible. As you saw in the last post, adding an adapter is rather simple. Use the mfp command line to add the adapter. Just give it a sensible name and select the proper type:

Select the defaults for the remaining prompts and you're good to go. The adapter creates three files: filtered.xsl, myHTTPTest-impl.js, and myHTTPTest.xml. As I stated in the last blog post, the names of the impl and xml files are based on the adapter name. The XML file lets you configure various defaults, but oddly, not the complete url. As far as I can see I could only specify the domain for my RSS feed. I also modified the procedure names to something simpler.
<?xml version="1.0" encoding="UTF-8"?>
<!--
    Licensed Materials - Property of IBM
    5725-I43 (C) Copyright IBM Corp. 2011, 2013. All Rights Reserved.
    US Government Users Restricted Rights - Use, duplication or
    disclosure restricted by GSA ADP Schedule Contract with IBM Corp.
-->
<wl:adapter name="httpTest"
	xmlns:xsi="http://www.w3.org/2001/XMLSchema-instance"
	xmlns:wl="http://www.ibm.com/mfp/integration"
	xmlns:http="http://www.ibm.com/mfp/integration/http">

	<displayName>httpTest</displayName>
	<description>httpTest</description>
	<connectivity>
		<connectionPolicy xsi:type="http:HTTPConnectionPolicyType">
			<protocol>http</protocol>
			<domain>feeds.feedburner.com</domain>
			<port>80</port>
			<connectionTimeoutInMilliseconds>30000</connectionTimeoutInMilliseconds>
			<socketTimeoutInMilliseconds>30000</socketTimeoutInMilliseconds>
			<maxConcurrentConnectionsPerNode>50</maxConcurrentConnectionsPerNode>
			<!-- Following properties used by adapter's key manager for choosing specific certificate from key store
			<sslCertificateAlias></sslCertificateAlias>
			<sslCertificatePassword></sslCertificatePassword>
			-->
		</connectionPolicy>
	</connectivity>

	<procedure name="getFeed"/>


</wl:adapter>
Now let's look at the JavaScript implementation. As I said, the default code supports loading a RSS feed, but it had complexities I did not need. My version is somewhat smaller then.
function getFeed() {

	var input = {
	    method : 'get',
	    returnedContentType : 'xml',
	    path : 'raymondcamdensblog'
	};

	return WL.Server.invokeHttp(input);
}
And that's it for the server-side. As I mentioned in my post on adapters, each adapter is session based. I could add some basic caching here, but it would only apply to one user at a time.
Now let's turn our attention to the front-end. I'm going to use Ionic for the display and I'll use a simple two-page app like I had before. The home page will show all the items from an RSS feed.
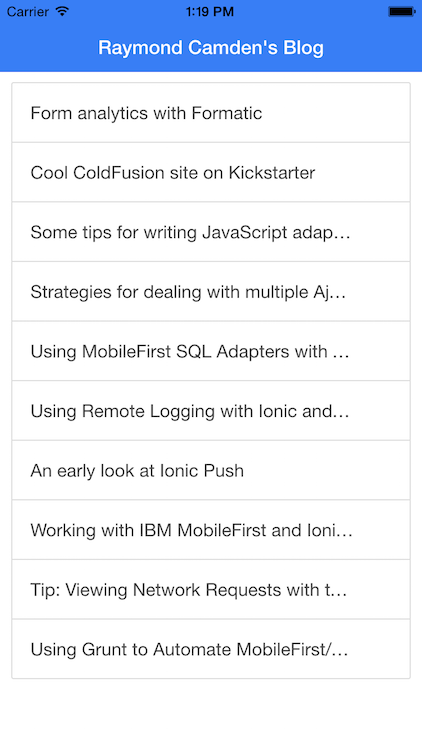
Clicking an entry then sends you to the detail:

Because this was so similar to my last post, I literally just copied it and modified the services file.
angular.module('starter.services', [])

.factory('ContentService', function($q) {

	var items = [];

	function getAll() {
		var deferred = $q.defer();

		var req = new WLResourceRequest("/adapters/httpTest/getFeed", WLResourceRequest.GET);

		req.send().then(function(res) {
			items = res.responseJSON.rss.channel.item;
			deferred.resolve(res.responseJSON.rss.channel.item);
		}, function(bad) {
			console.log("bad");
			console.dir(bad);
			deferred.reject("um something here");
		});

		return deferred.promise;
	}

	function getOne(id) {
		//ok, now async now, but lets keep the promise in case the future
		var deferred = $q.defer();
		deferred.resolve(items[id]);

		return deferred.promise;
	}

	return {
		getAll:getAll,
		getOne:getOne
	};

});
The first thing I want to point out is that this version uses a simpler API to invoke the adapter: WLResourceRequest. I simply provide a path that includes my adapter name (not the same as what you see above) and procedure. And... that's it. I then just dumped out the result to console so I could see the proper key to return. I did have to modify my templates a tiny bit since the RSS data wasn't the exact same as my database of course, but you get the idea.
For fun, let's add a footer bar to the detail view with a button to load the full site:
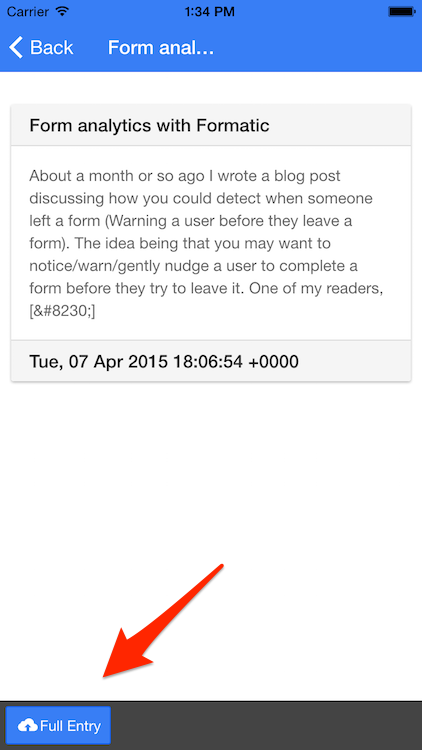
Here's the updated view code for that:
<ion-view>
<ion-nav-title>{{detail.title}}</ion-nav-title>
<ion-content class="padding">
<div class="card">
<div class="item item-divider">
{{detail.title}}
</div>
<div class="item item-text-wrap">
<p>
{{detail.description}}
</p>
</div>
<div class="item item-divider">
{{detail.pubDate}}
</div>
</div>
</ion-content>
<ion-footer-bar class="bar-dark">
<button class="button button-positive icon-left ion-upload"
ng-click="readEntry(detail)">
Full Entry
</button>
</ion-footer-bar>
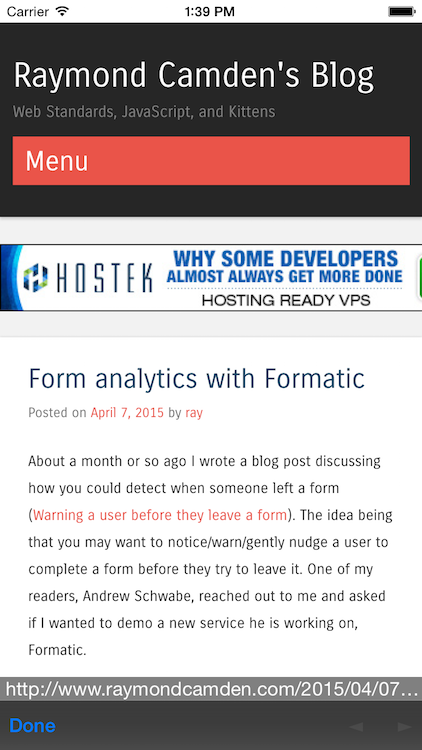
</ion-view>The addition is at the bottom. readEntry simply makes use of the InAppBrowser plugin. This is included automatically within MobileFirst projects.
Archived Comments
Another awesome post. Recently when attempting to call an MFP adapter following your approach I noticed that when I called the adapter I was receiving
TypeError:
Cannot use 'in' operator to search for 'SUPPORT_OAUTH' in null
at Object.WL.EnvProfile.isEnabled (worklight.js:4426).
I was able to get past this issue by bootstrapping angular in my wlCommonInit function:
console.log("Bootstrapping angular");
angular.element(document).ready(function() {
angular.bootstrap(document, ['myMFPApp']);
});
and removing the ng-app directive in the <body> tag. Not sure if this was just a one-off, but in case anyone else hits this I figured I'd share.
I've modified my approach to Ionic+MFP a few times, but in general, I now lean on my coworker Carlos' Github templates for it, https://github.com/csantana....
is there a full example using a backend service with GET, POST, PUT and DELETE methods ?
Not aware of one.
can u please tell me how to use this in ionic 1 ?
I'm pretty sure I used Ionic 1 in this demo.
Is there any example for POST methods?..
Sorry - I haven't used MobileFirst in years.