An early look at Ionic Push
Before I begin - please, please, please make note of the date of this post (March 30, 2015). As the title says, this is an early look at a new feature Ionic is adding. The feature is changing quite rapidly (it has already changed a bit since I wrote my demo!) so be sure to check the docs for the latest information. With that out of the way, let's take a look at Ionic Push.

My readers already know that Ionic provides a heck of a lot of awesomeness for Cordova developers. You've got UI elements, UX elements, AngularJS love (yes, that's a thing), and other features like live reload on device and multi-device preview. While this is cool, they are also working on creating an Ionic platform - a set of services that Ionic apps can make use of to better enhance the functionality of their applications. The first of these new services is Ionic Push. While not publicly released yet, you can sign up now and possibly get early access. They are slowly adding more testers to the beta over time.
Using Ionic Push requires making use of the Apps back end. If you have no idea what that is - don't worry. It's primary usage has been with the Ionic View service. You may have noticed that the Ionic CLI supports an "upload" command:
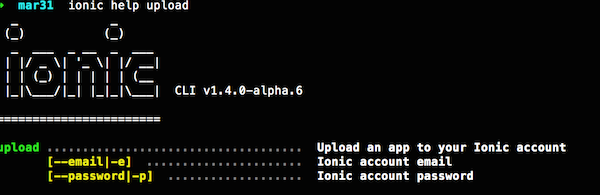
Uploading your app is required to use View, and also services like Push. So to begin, you have to upload your app at the CLI:

As a quick note, before you upload, be sure to add a platform first. There is a bug with the CLI where if you upload without a platform, it silently fails. You can track this bug here: https://github.com/driftyco/ionic-cli/issues/325.
Once you've done that, you can then go to apps.ionic.io to see your new app (and all your other ones as well):
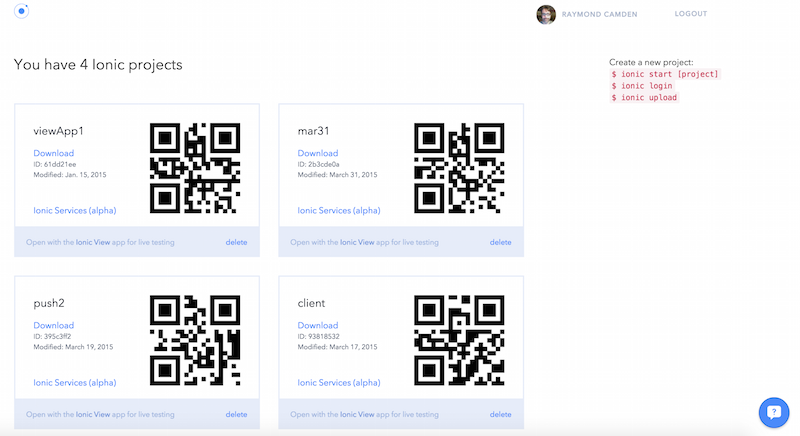
The "Ionic Services" link will not show up for you unless you are in the Push alpha, or unless you're reading this in the future when the feature is actually released. Clicking that takes you to a dashboard for your app.
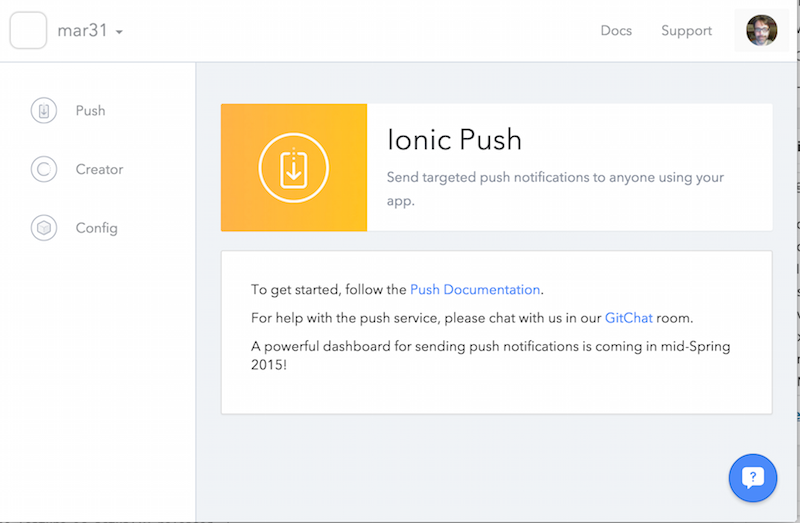
At this point, you can simply follow the docs to get working. I'll cover the high level details to give you an idea of the process, but again, this is early, and you can expect some things to change in the future.
First - you have to install a core "Ionic Service" library. As you can imagine, this is a generic library that will support future services beyond Push. You use the CLI to add the library, ionic add ionic-service-core, and then include the JavaScript library in your html. Next - you identify your application (this code is right from the docs):
// Add the 'ionic.service.core' module to your main angular module:
angular.module('test', ['ionic.service.core'])
// Identify App
.config(['$ionicAppProvider', function($ionicAppProvider) {
  // Identify app
  $ionicAppProvider.identify({
    // The App ID for the server
    app_id: 'YOUR_APP_ID',
    // The API key all services will use for this app
    api_key: 'YOUR_PUBLIC_API_KEY'
  });
}])
Your API key is back at the dashboard, as well as the app id, and you can also find the app id in the file ionic.project at the root of your project.
The next step involves adding the Push specific code to your local project. You'll add a plugin, ngCordova, and then an Ionic Push library. This can all be done nice and quickly from the CLI:
ionic plugin add https://github.com/phonegap-build/PushPlugin.git
ionic add ngCordova
ionic add ionic-service-push
You then add ngCordova and the Push JavaScript libraries and then inject the Ionic Push dependency.
Now - using Ionic Push can be a little bit tricky if you don't follow the guide closely. You must identify the current user before Push can be used. Now you may be wondering - what if you aren't using a login system? You can still register the user, but can do so anonymously. User identification is provided by the core services API and is relatively simple to call:
$ionicUser.identify({
  user_id: '0',
  name: 'Test User',
  message: 'I come from planet Ion'
});
This call returns a promise and within that success, you could then register for push. The register API provides a few options including the ability to listen for events. These events include initial registration stuff and later push notifications too. Here is an example:
$ionicPush.register({
      canShowAlert: false,
      onNotification: function(notification) {
	console.log('onNotification', JSON.stringify(notification) );
        // Called for each notification for custom handling
        $scope.lastNotification = JSON.stringify(notification);
      }
    },

    // Some metadata to send through the webhook for your own
    // linking of device token and user
    {
      "user_id": 0,
      "email": "tester@example.com"
    }).then(function(deviceToken) {
	console.log("deviceToken",deviceToken);
      $scope.token = deviceToken;
});
That covers the basics for the code - although is just the very beginning. You would need proper code to handle the user identification and notifications too. You also need to actually set up push at the provider. Ionic provides documentation for how to do this with Google and Apple. I recommend trying Google/Android first as it is the easier. If you do, be sure to note that you have to add a specific Google key to your config. (See the first code snippet above. It is one more key.) You then have to use the command line to register your Google API key with the Ionic service:
ionic push --google-api-key [your-google-api-key]Ok - so at this point - you can test on a device (this may be obvious, but I swear I forget half the time - you can only test push on a real device). You want to use your Chrome Remote debug to pick up the registration ids sent back. This can take about 10 seconds or so.

You want to copy out that device token because testing, currently, is done via CLI. Ionic will be adding a proper dashboard soon, but at the moment, sending a push notification requires using curl:
curl -u 3ec834b08thisisecretf53: -H "Content-Type: application/json" -H "X-Ionic-Application-Id: myappid" https://push.ionic.io/api/v1/push -d '{"tokens":["devicetoken"],"notification":{"alert":"MOAR KITTENS!"}}'
So - that's push. It still feels a bit rough to me, but as I said, this is an early build of the service. When I first tried to get this working, it took me a while to get things setup, and I can see that documentation updates have already been made to help correct the issues I ran into. If your interested in checking this out yourself, don't forget you can register now!